How to Inspect Your Roof for Damage
Regular roof inspections are crucial to maintaining the integrity and longevity of your roof. By identifying and addressing issues early, you can prevent costly repairs and ensure your home remains protected from the elements. Here’s a step-by-step guide on how to inspect your roof for damage:
Step 1 – Safety First
Equipment Needed:
- Sturdy ladder
- Safety harness
- Non-slip shoes
- Binoculars
- Gloves
Safety Tips:
- Always inspect your roof on a dry, calm day.
- Use a sturdy ladder and ensure it’s on a flat surface.
- Wear non-slip shoes and a safety harness if you need to climb onto the roof.
- Have someone nearby in case of an emergency.

Step 2 – Perform a Ground-Level Inspection
Before climbing up, start by inspecting your roof from the ground. Use binoculars to get a closer look at the roof’s surface.
Look for:
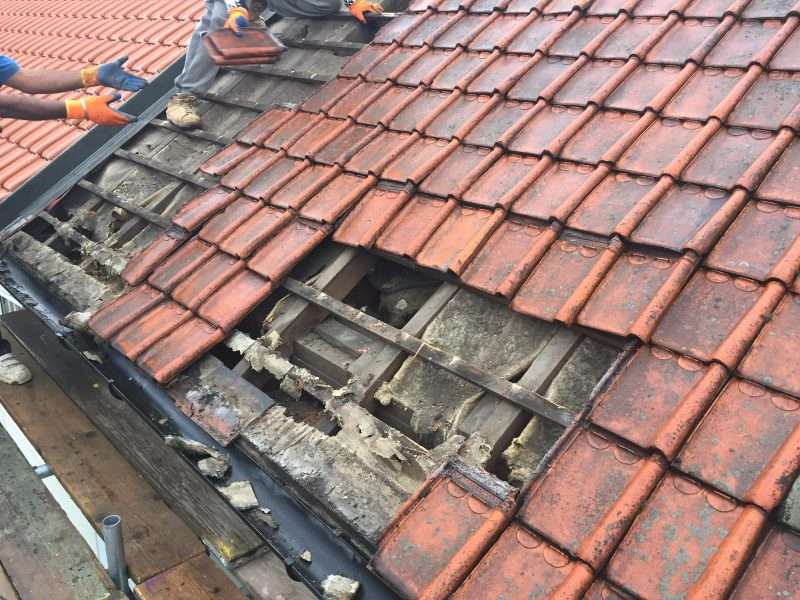
- Missing, cracked, or curling tiles/slates
- Discolouration or moss growth
- Signs of sagging or uneven areas
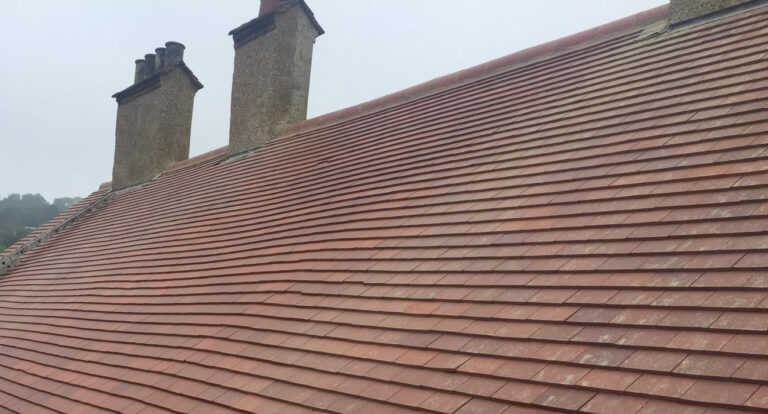
- Check the chimney stack for damage or leaning
Step 3 – Inspect the Roof Up Close
If it’s safe to do so, climb up the ladder to get a closer look at your roof. Be cautious and avoid walking directly on the tiles or slates to prevent damage.
Check for:
- Tiles/Slates: Look for cracked, broken, or missing tiles or slates. Ensure they are properly aligned and not slipping out of place.
- Ridges and Hips: Inspect ridge tiles and hip tiles for cracks or signs of movement. These areas are particularly vulnerable to wind damage.
- Valleys: Valleys are the troughs formed where two roof slopes meet. Ensure they are free from debris and the metal flashing is not rusted or damaged.
Step 4 – Examine the Flashing and Leadwork
Flashing and leadwork are essential for preventing water ingress around chimneys, vents, and other roof penetrations.
Inspect for:
- Cracked or corroded flashing
- Loose or missing leadwork
- Signs of water staining on the leadwork
Step 5 – Check the Guttering and Downpipes
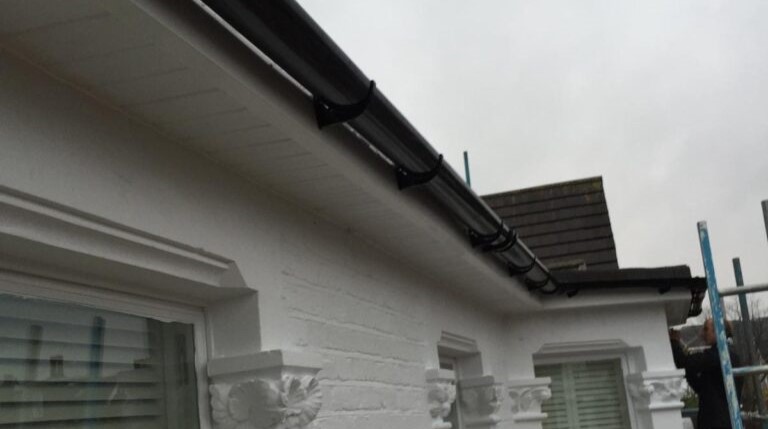
Effective drainage is crucial for preventing water damage to your roof and home.
Look for:
- Blocked or overflowing gutters
- Loose or sagging guttering
- Cracks or splits in downpipes
- Signs of rust or corrosion
Step 6 – Inspect the Loft
Sometimes roof damage can be detected from inside your home, particularly in the loft.
Look for:
- Daylight visible through the roof boards
- Signs of water staining or dampness on the rafters or insulation
- Musty smells indicating mould or mildew
Step 7 – Check for Moss and Algae
Moss and algae can retain moisture and cause damage to roof tiles or slates.
Removal Tips:
- Use a stiff brush to remove moss gently
- Avoid using pressure washers as they can damage the roofing material
- Consider installing zinc or copper strips to prevent moss growth
Step 8 – Document Your Findings
Take notes and photos of any damage you find. This documentation will be useful if you need to hire a professional roofer for repairs or if you need to make an insurance claim.
Step 9 – Plan for Repairs
If you’ve identified any issues, it’s important to address them promptly. For minor repairs, you may be able to fix them yourself, but for more significant damage or if you’re unsure, it’s best to hire a professional roofer.
Hiring Tips:
- Look for roofers who are members of the National Federation of Roofing Contractors (NFRC) or similar trade bodies.
- Request multiple quotes to compare prices and services.
- Check reviews and ask for references from previous customers.
Regular roof inspections are a vital part of home maintenance. By following this step-by-step guide, UK homeowners can identify and address roof damage early, ensuring their home remains safe and secure. Remember, safety is paramount, and when in doubt, always consult a professional roofer.
If you live in the Buckinghamshire area and looking for high quality roof repairs, new roofs and general roofing services, get in touch with Evershield Roofing today for a free quote.


